7 Common Pipe Bending Mistakes UK DIYers Make (And How to Fix Them)
Bending copper, steel, or aluminium pipes by hand looks straightforward. In practice, it's where a lot of DIY plumbing and heating projects go wrong. The result? Kinked bends that split under pressure, oval cross-sections that restrict flow, and wasted materials that pile up in the skip. Most mistakes aren't about lack of effort—they're about technique, equipment choice, and understanding what the pipe actually needs.
If you've bent pipes before and been disappointed with the result, you're not alone. Here's what goes wrong most often, and how to get it right.
1. Using the Wrong Type of Bender for Your Pipe
The first mistake happens before you even bend anything: grabbing whatever bender is lying around the garage. Spring benders, lever benders, and hydraulic machines all do different jobs at different speeds and with different results.
Spring benders (the loose coil type you slide over the pipe) are cheap and portable, but they work best for quick, small-radius bends on soft copper. Use one on half-inch steel pipe or at an awkward angle, and you'll fight it. The spring either won't grip properly or will crease the pipe rather than support it through the bend.
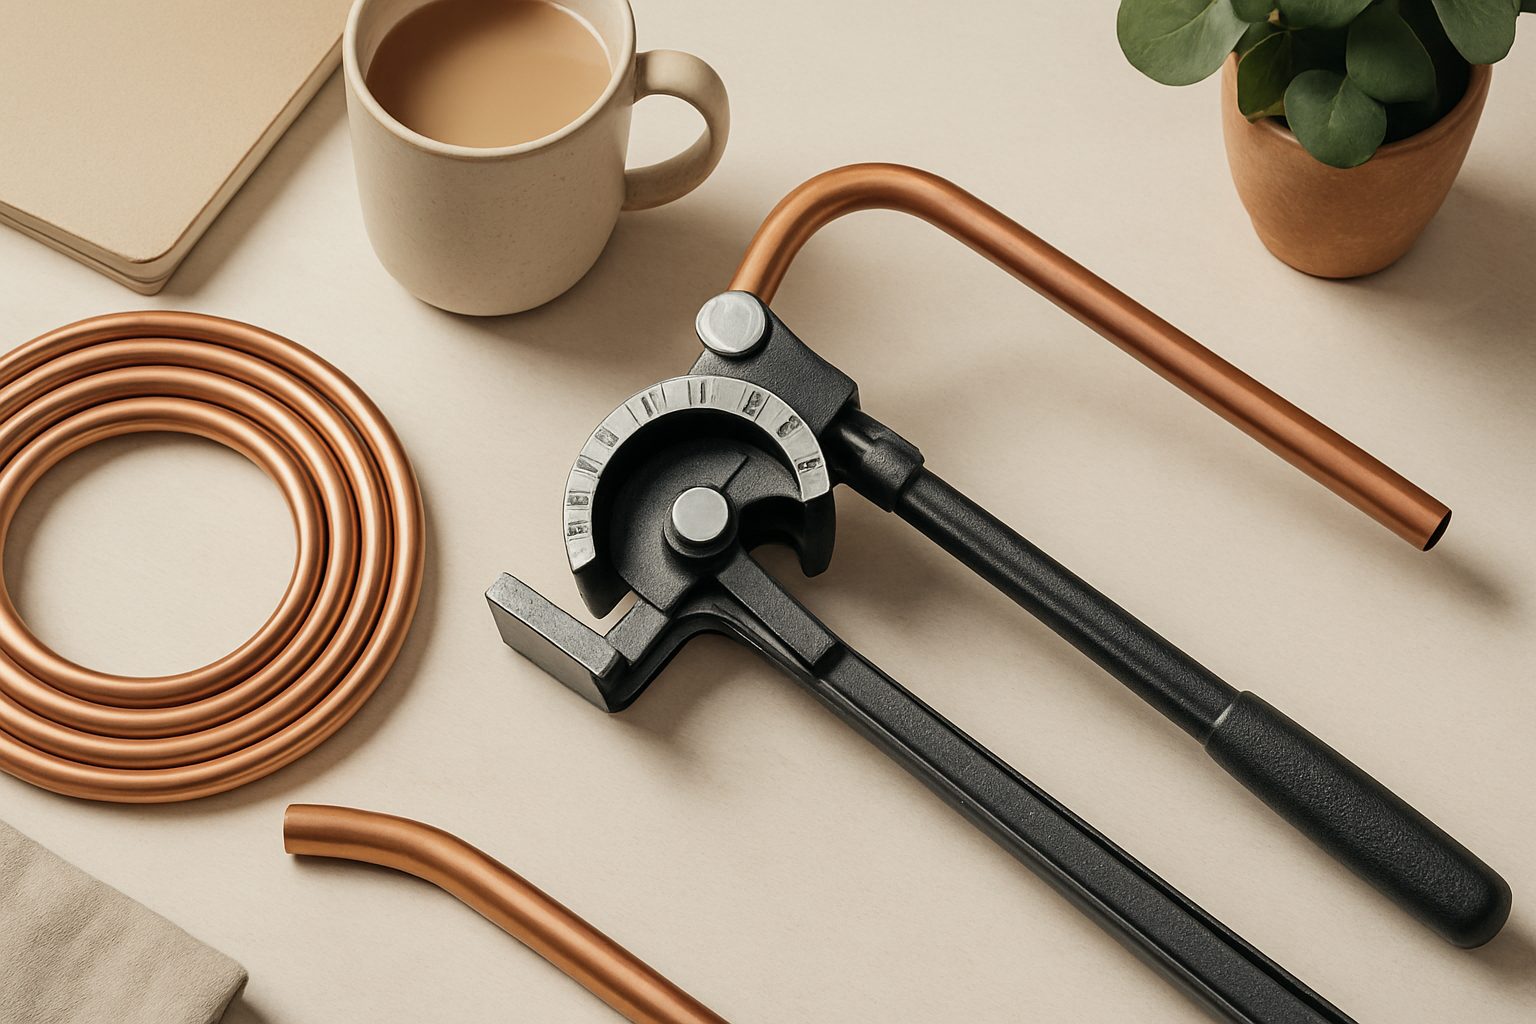
Lever benders give you mechanical advantage and work reliably on standard 15mm and 22mm copper for typical plumbing angles. They're the workhorse of UK bathrooms and heating systems. But if you're doing tighter radii or thicker material, they're not strong enough.
Hydraulic or powered benders let you apply consistent, controlled pressure and handle larger diameters and heavier gauges. They're an investment, but if you're doing more than occasional work, they prevent the frustration of hand-cramping and partial bends.
The fix: Match your bender to your material diameter, wall thickness, and bend radius. If you're uncertain, it's worth hiring rather than forcing a job with unsuitable equipment.
2. Skipping Lubrication or Using the Wrong Lubricant
Friction between the pipe and the bender's former is what causes creasing and kinking. Lubrication reduces that friction, lets the pipe flow smoothly into the curve, and prevents the metal from work-hardening too quickly.
Many DIYers either forget lubricant entirely or use whatever's handy—WD-40, soap, or nothing. This causes uneven pressure spots, and the pipe bends with flat sections rather than a smooth curve.
Proper pipe-bending lubricant (thick, sticky stuff designed for the job) stays in place, doesn't wash off mid-bend, and provides consistent slip. Cheap soap washes away. Oil works but drains away. Proper lubricant clings to the former and the pipe.
The fix: Use a dedicated pipe-bending lubricant, apply it generously to both the former and the pipe before you start, and reapply if you're doing a series of bends. It costs a few pounds and saves metres of wasted pipe.
3. Bending Too Fast or with Inconsistent Pressure
Speed creates heat, and heat makes metal brittle and prone to cracking. Uneven pressure creates flat spots. A hurried bend often looks okay when it's hot, then cracks or splits once it cools and pressure cycles begin.
The temptation is to muscle the bender quickly—get it over with. What actually happens is the pipe doesn't distribute the force evenly, the former digs in on one side, and you end up with an egg-shaped or kinked result.
Smooth, steady pressure takes longer but produces a proper bend with a consistent radius all the way through.
The fix: Bend slowly and deliberately. Apply pressure gradually, feel for resistance, and stop if it suddenly gets easier (a sign you're kinking or crushing). A proper bend should take 10–15 seconds of steady pressure for standard plumbing copper.
4. Misjudging the Bend Radius or Using the Wrong Former
The former is the shaped block that actually shapes the bend. Different formers give different radii: a tight 15mm former on a 15mm pipe, a larger former for a gentle sweep. Using the wrong former leaves you with a radius that doesn't fit where you need the pipe to go—too tight and it won't reach, too loose and it doesn't tuck into the space.
Many cheaper benders come with just one former, which limits what you can do. You end up over-bending or under-bending to make it work, neither of which is ideal.
The fix: Measure twice and check that the radius of your former matches the space you're fitting into. If you're working on a standard heating system, a 15mm radius former for 15mm pipe is standard. If you have access to a bender with interchangeable formers, use the right one for the job—it takes seconds and makes the difference.
5. Not Supporting the Pipe Beyond the Bend Point
Bending only concentrates force on one section of the pipe. If you don't support the rest of it, it flops about and twists as you apply force, causing uneven bends and weak points.
The bender itself provides support on one side, but if you're holding the pipe by hand on the other end, micro-movements add up and distort the bend.
The fix: Secure the pipe or have a steady support at the far end while you bend. A pipe vice or even a weighted block works. The pipe should only move where the bender is working.
6. Bending Material That's Too Hard or Brittle
Annealed copper—the soft, fully worked type—bends easily and reliably. Half-hard copper resists and can kink. Dead-hard copper will split. Many DIYers don't know what they're starting with, or they're reusing old pipe that's been work-hardened over time.
Steel also varies. Mild steel bends, stainless is much stiffer, and both need more force than copper.
The fix: Check the specification of your material. If you're buying new, annealed copper is standard for plumbing. If you're reusing old copper and it's hard to bend, you either need a more powerful bender or softer material. Steel typically requires a professional hydraulic bender.
7. Bending Without Marking Your Angle First
Eyeballing a bend often results in angles that are too shallow, too steep, or asymmetrical. Once you've bent it, correcting it is difficult without flattening and starting again—wasteful and frustrating.
The fix: Mark your angle with a tape measure or angle gauge before you bend. A 90-degree corner needs a clear mark at the bend point. For 45-degree bends, make two marks and aim for the midpoint. Tape or a marker line on the pipe takes 30 seconds and saves a failed bend.
Getting Better Results
Most pipe-bending mistakes come down to rushing, using the wrong equipment, or insufficient preparation. The good news is they're all preventable. Take time to set up properly, use the right bender and lubricant, and bend slowly with even pressure. Your bends will be clean, reliable, and fit first time.
More options
- Clarke Pipe Benders (Clarke PB16F & Clarke Strongarm range) (Amazon UK)
- Silverline Pipe Benders & Spring Bender Sets (Amazon UK)
- Monument Pipe Bender & Lever Bender Range (Amazon UK)
- Hydraulic Pipe Bender Kits (12T / 16T multi-former sets) (Amazon UK)
- Rothenberger Rocbend & Copper Pipe Bender Sets (Amazon UK)